
DIY Faux Wood Beam to Cover Ceiling 2x4s: A Stylish Fix for a Former Wall
When removing a non-structural wall, you're often left with unsightly ceiling framing—typically a few 2x4s that break up the visual flow of your space. Rather than going through the time and expense of rerouting everything flush, a faux wood beam can turn a construction eyesore into a standout design feature.
This is a versatile project with techniques you can use to enhance other areas of your home with a beautiful wood accent piece! Read on to learn more!

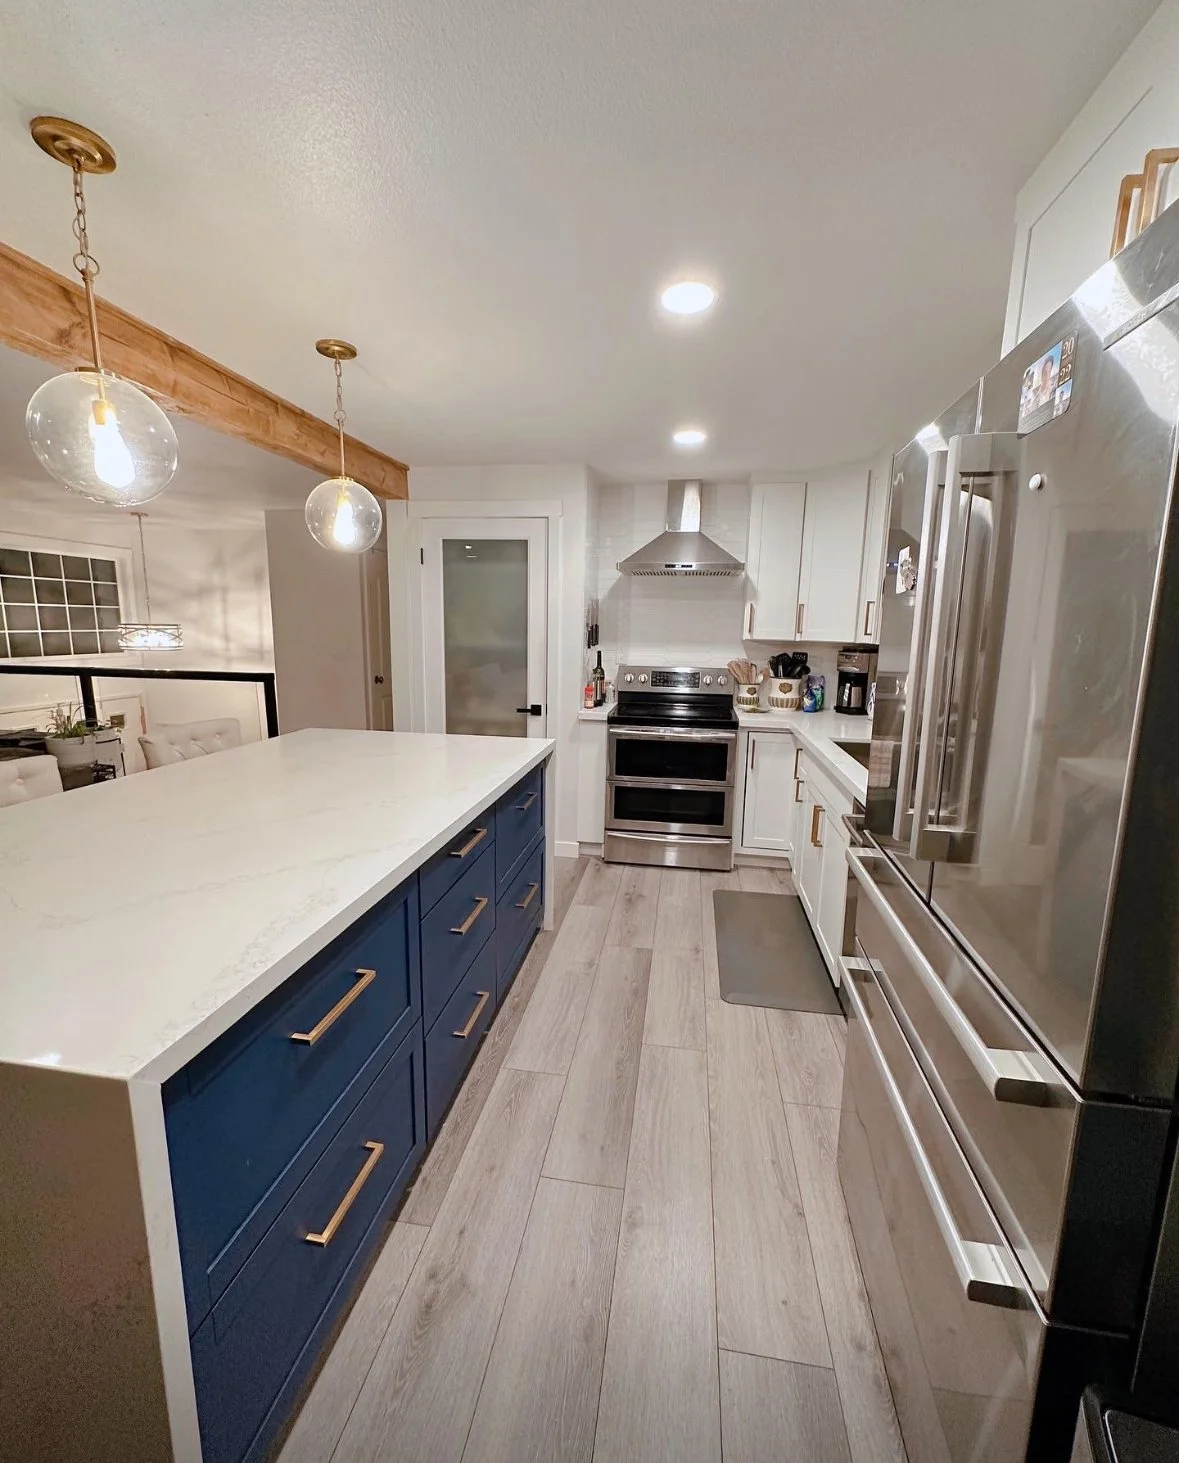

Here’s how we created a faux beam to cover existing ceiling 2x4s and give this kitchen a warm, rustic look with clean modern lines.
Materials & Tools:
1x6 or 1x8 pine boards (depending on the size of your existing framing)
Wood glue
Pin nailer + nails
Finish nailer for ceiling attachment
Miter saw and Table saw with miter gauge (for angled cutting if you want)
Saw horses
Sandpaper or power sander
Wood filler (homemade mix: glue + sawdust)
Clamps
Tape measure
Stain or finish of choice (optional)
Step 1: Measure and Cut Boards to Size
Start by measuring the dimensions of the framing you want to cover. Cut your boards to create a U-shaped box that will wrap around the 2x4s. For the cleanest look, use a table saw with a miter gauge to cut 45-degree angles on the edges so the corners meet seamlessly.
NOTE: If using two faux beams to span the length of a room, you will have a joint where the two pieces meet. Now is a good time to think about what it will look like where they meet, if you like the pattern or knots, and if you need to change some pieces out to get the perfect blend
Step 2: Assemble the Faux Beam
Lay your boards flat and apply wood glue to the mitered edges. Clamp them together tightly and secure with pin nails along the seams. This will form the three-sided beam "box."
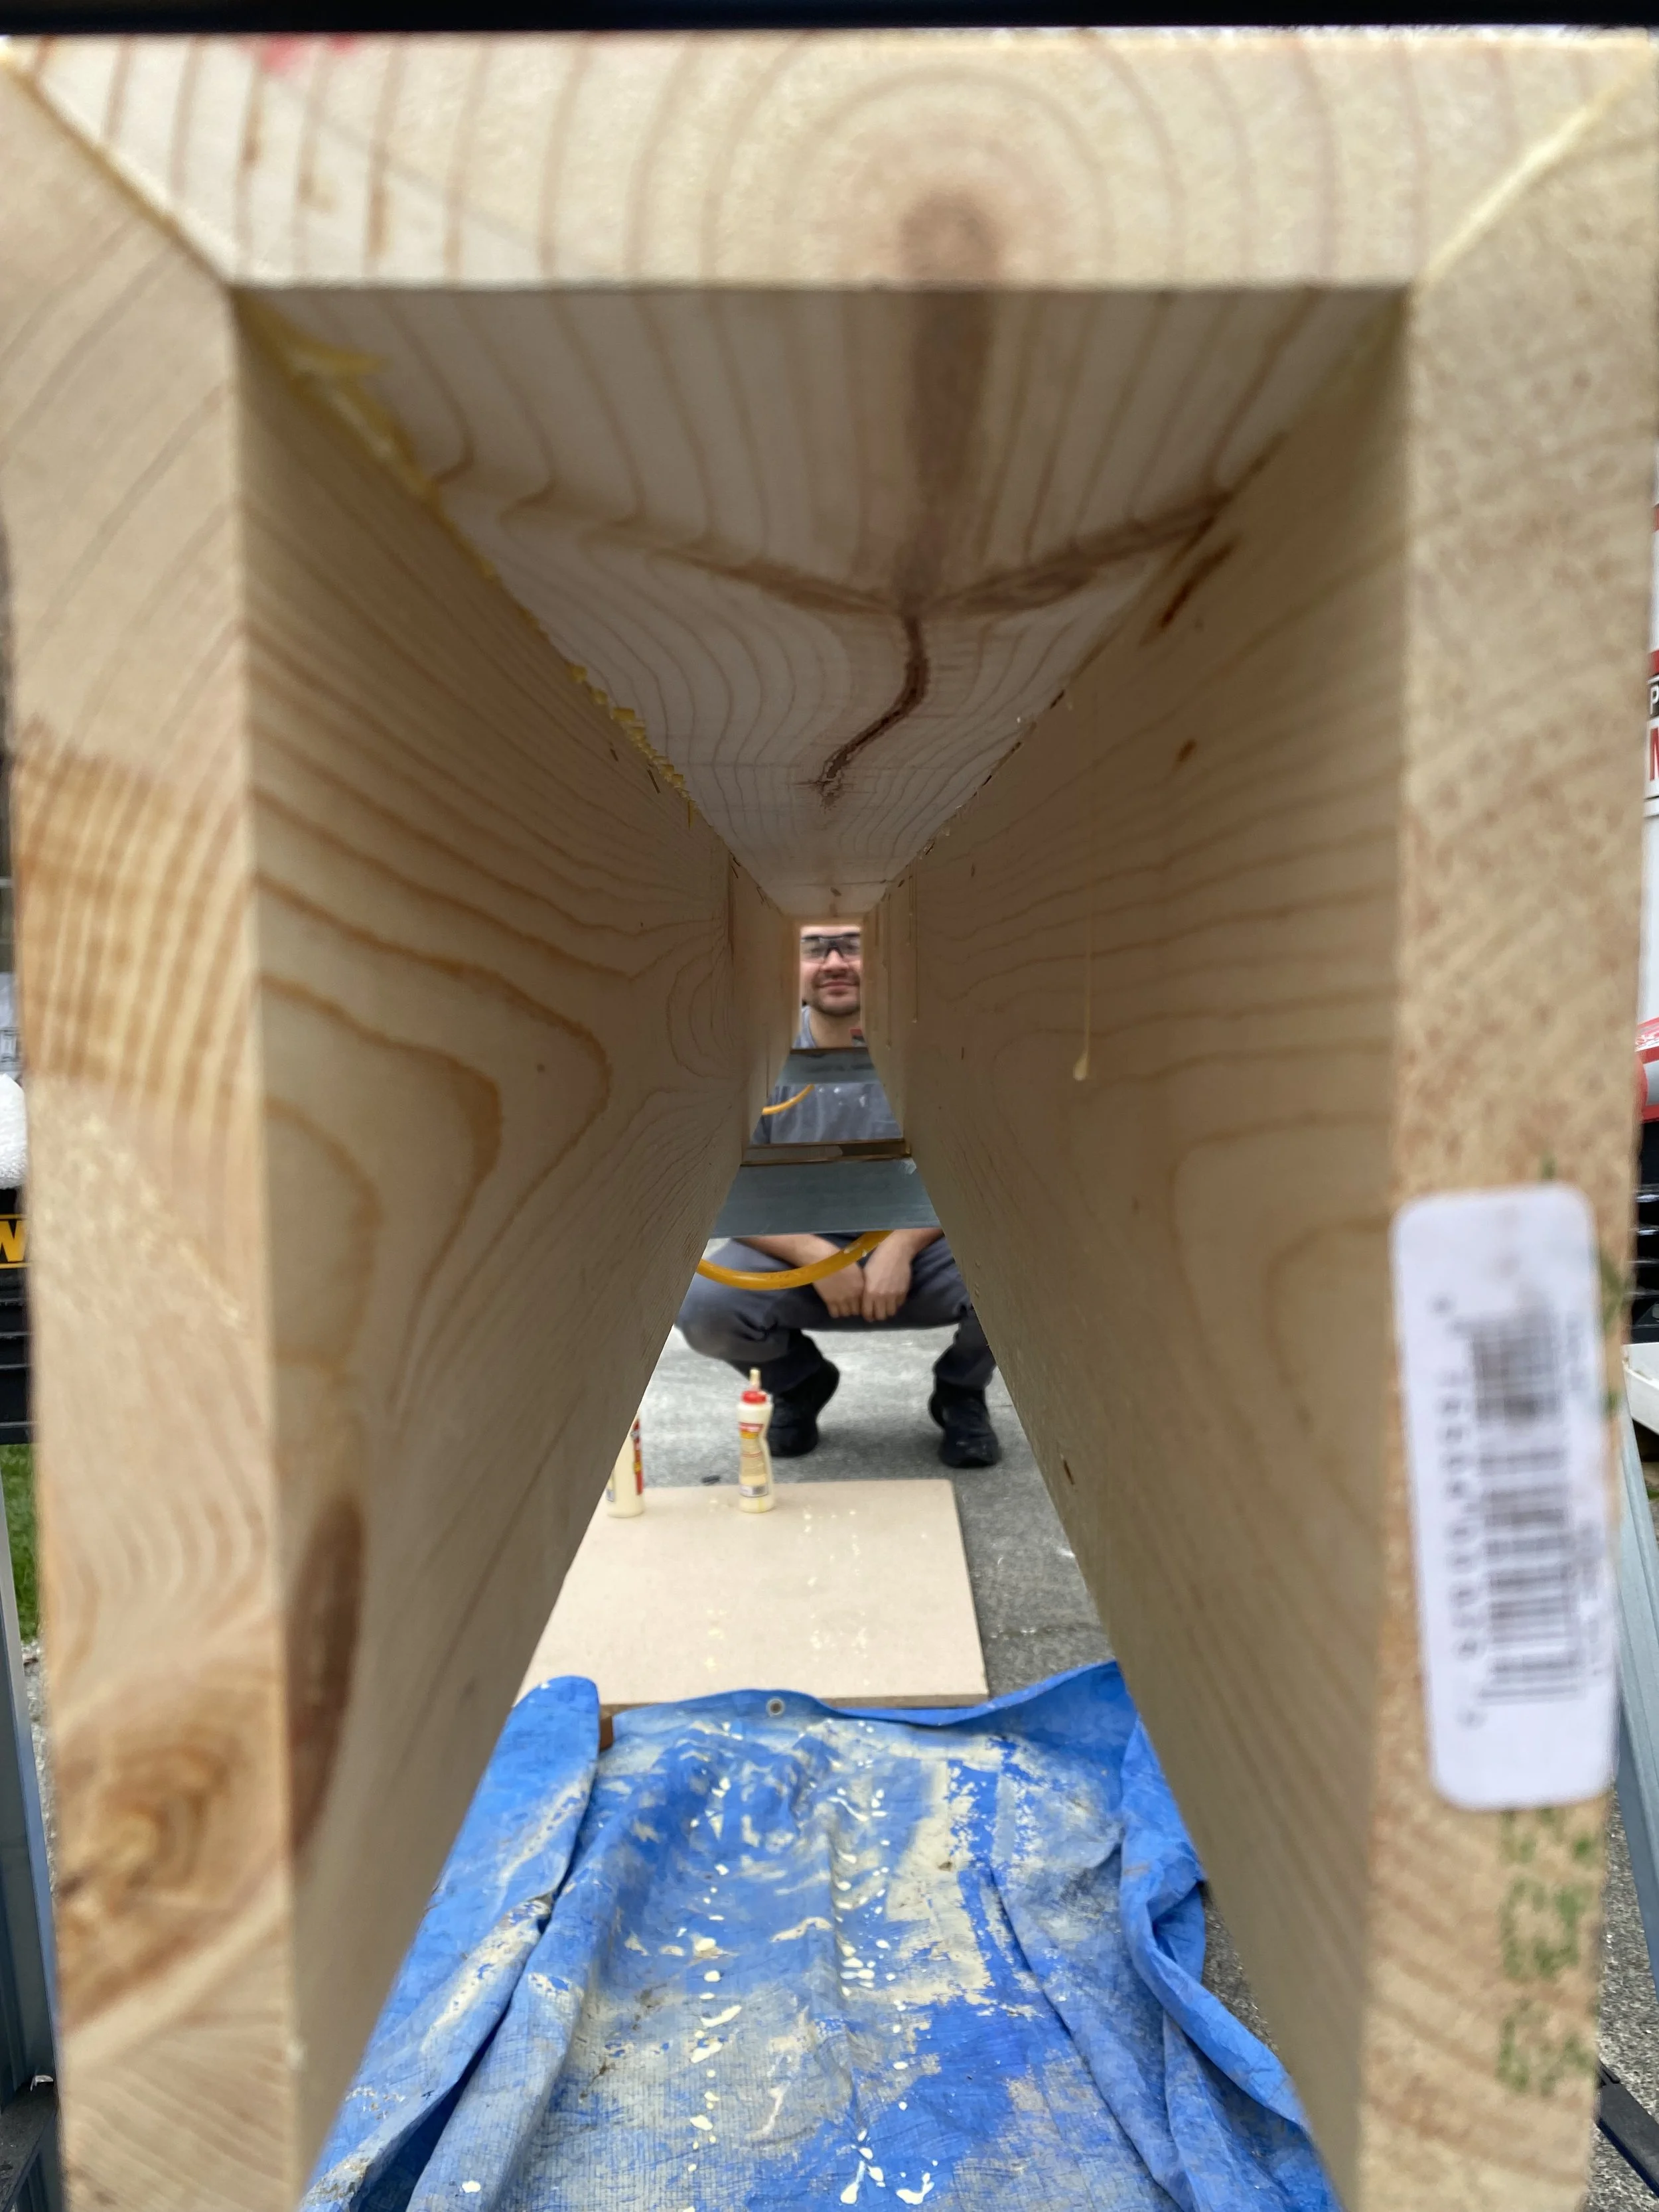
We mitered our corners for a cleaner look… I spy Tony!

As you can see the more clamps, the better. As things dry, you might see movement or expanding gaps. If you did the miter cut, don’t worry about aligning it perfectly - it will give the edges that rustic look after sanding. The clamps minimize movement, but don’t worry, sanding and wood filler will be your best friend in the end!
Step 3: Create a wood filler
Create your homemade wood filler: mix sawdust from your cuttings with wood glue to create a paste. Rub this paste into your miters or seams to fill any gaps. Once dried, it can be sanded and you can repeat the process to fill any gaps again.
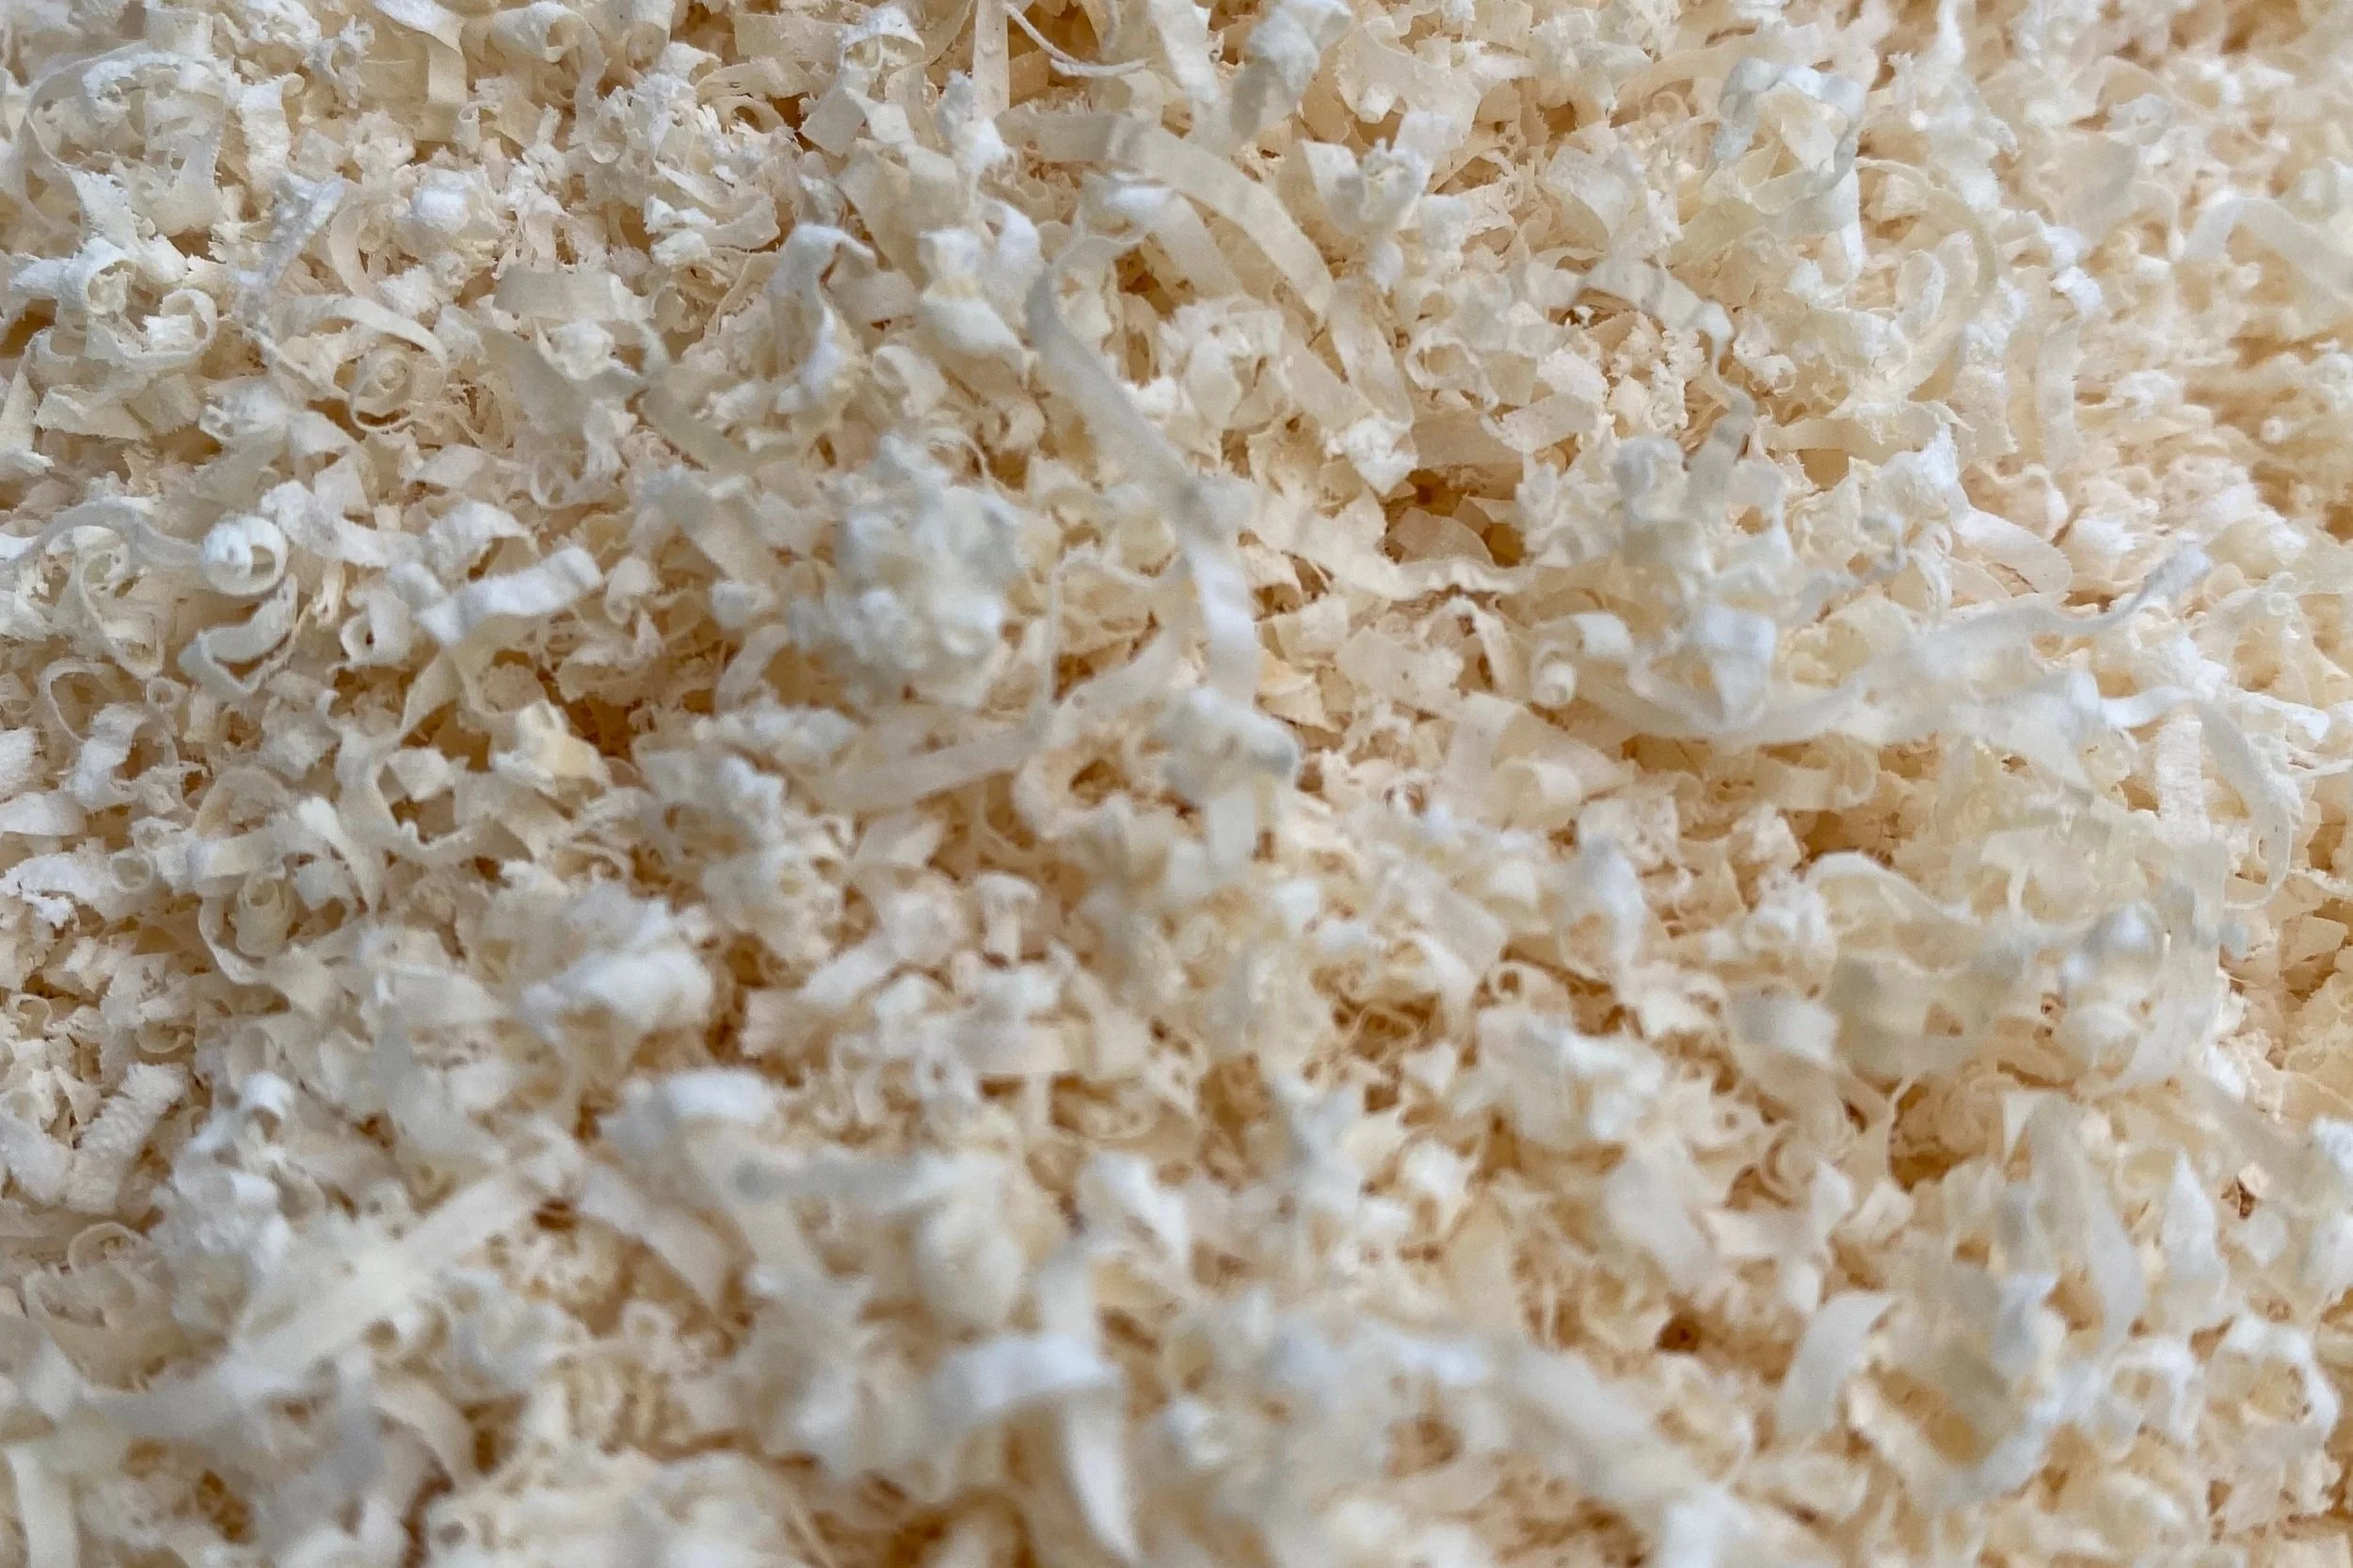
This is a good reason for working with pine, since there are enough imperfections in the natural grain to hide the imperfections. Making glue from your cuttings also ensures you get a similar colored filler that will absorb stain.
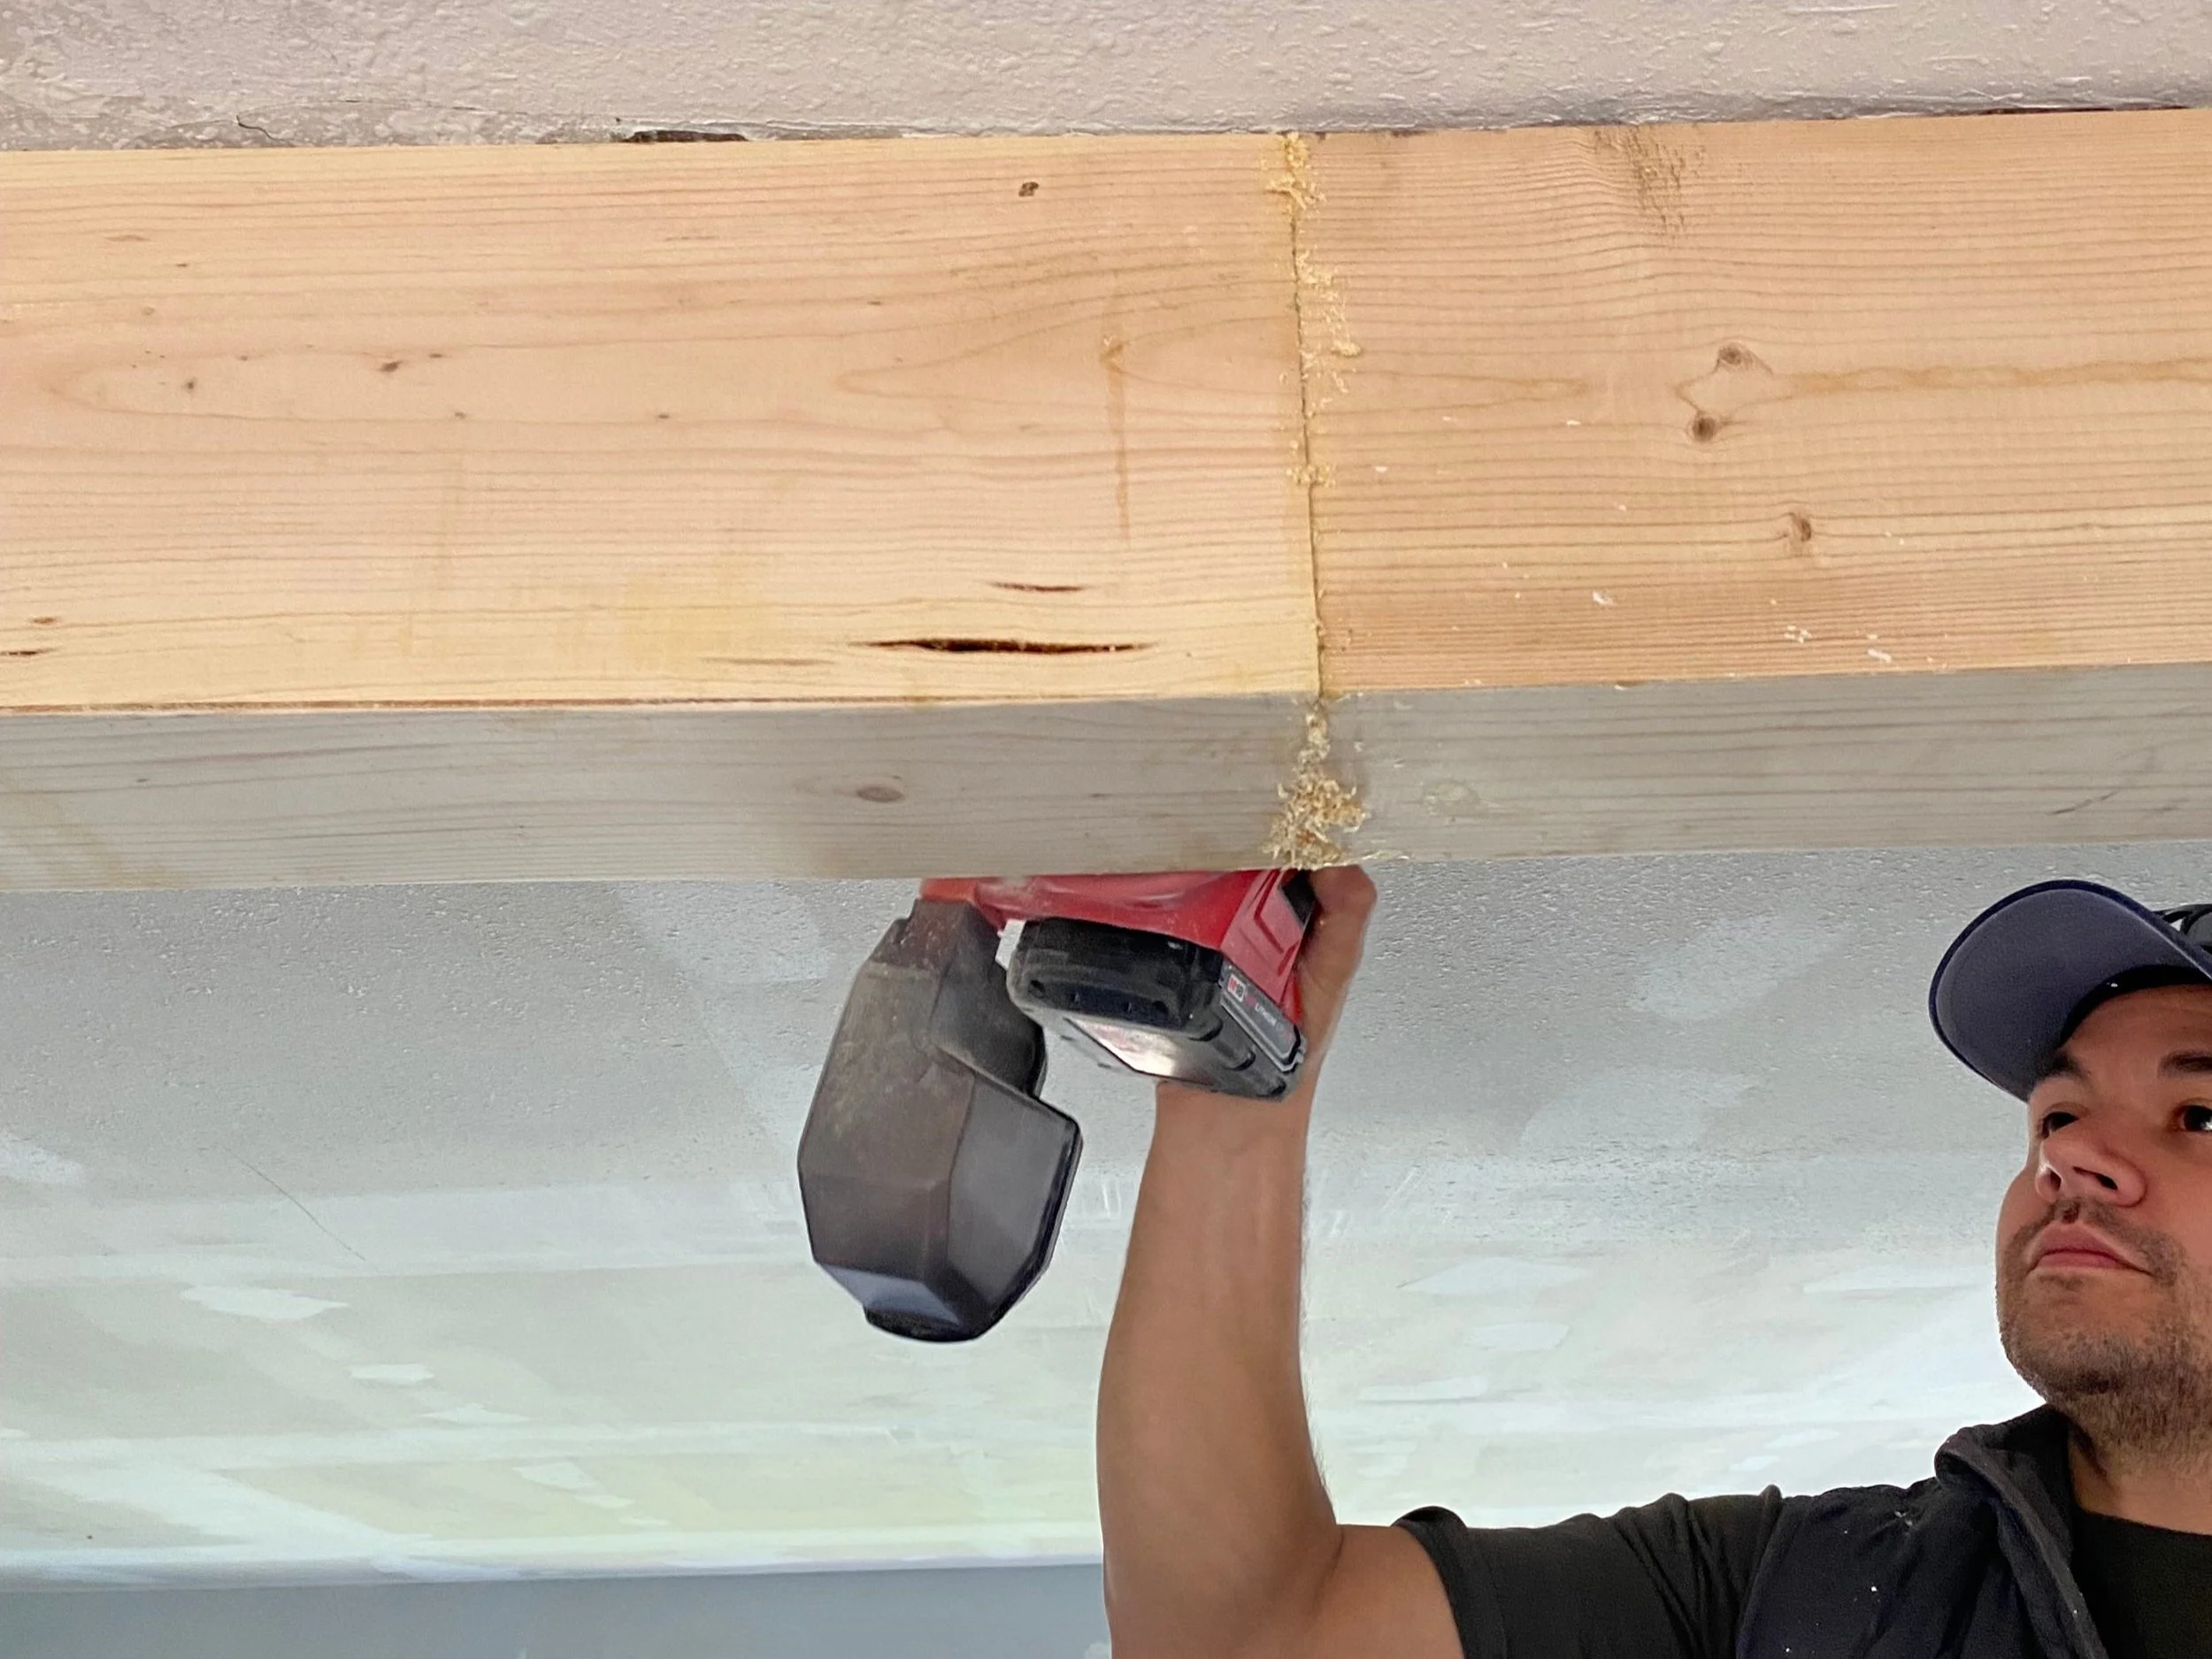
Step 4: Mount to the Ceiling
With the beam fully assembled and dried, lift it into place around the ceiling framing (if applicable). Apply construction adhesive to the top edge where it will meet the ceiling, then secure with nails into the ceiling joists or framing.

The dotted yellow line references where we nailed our faux beam to the ceiling framing
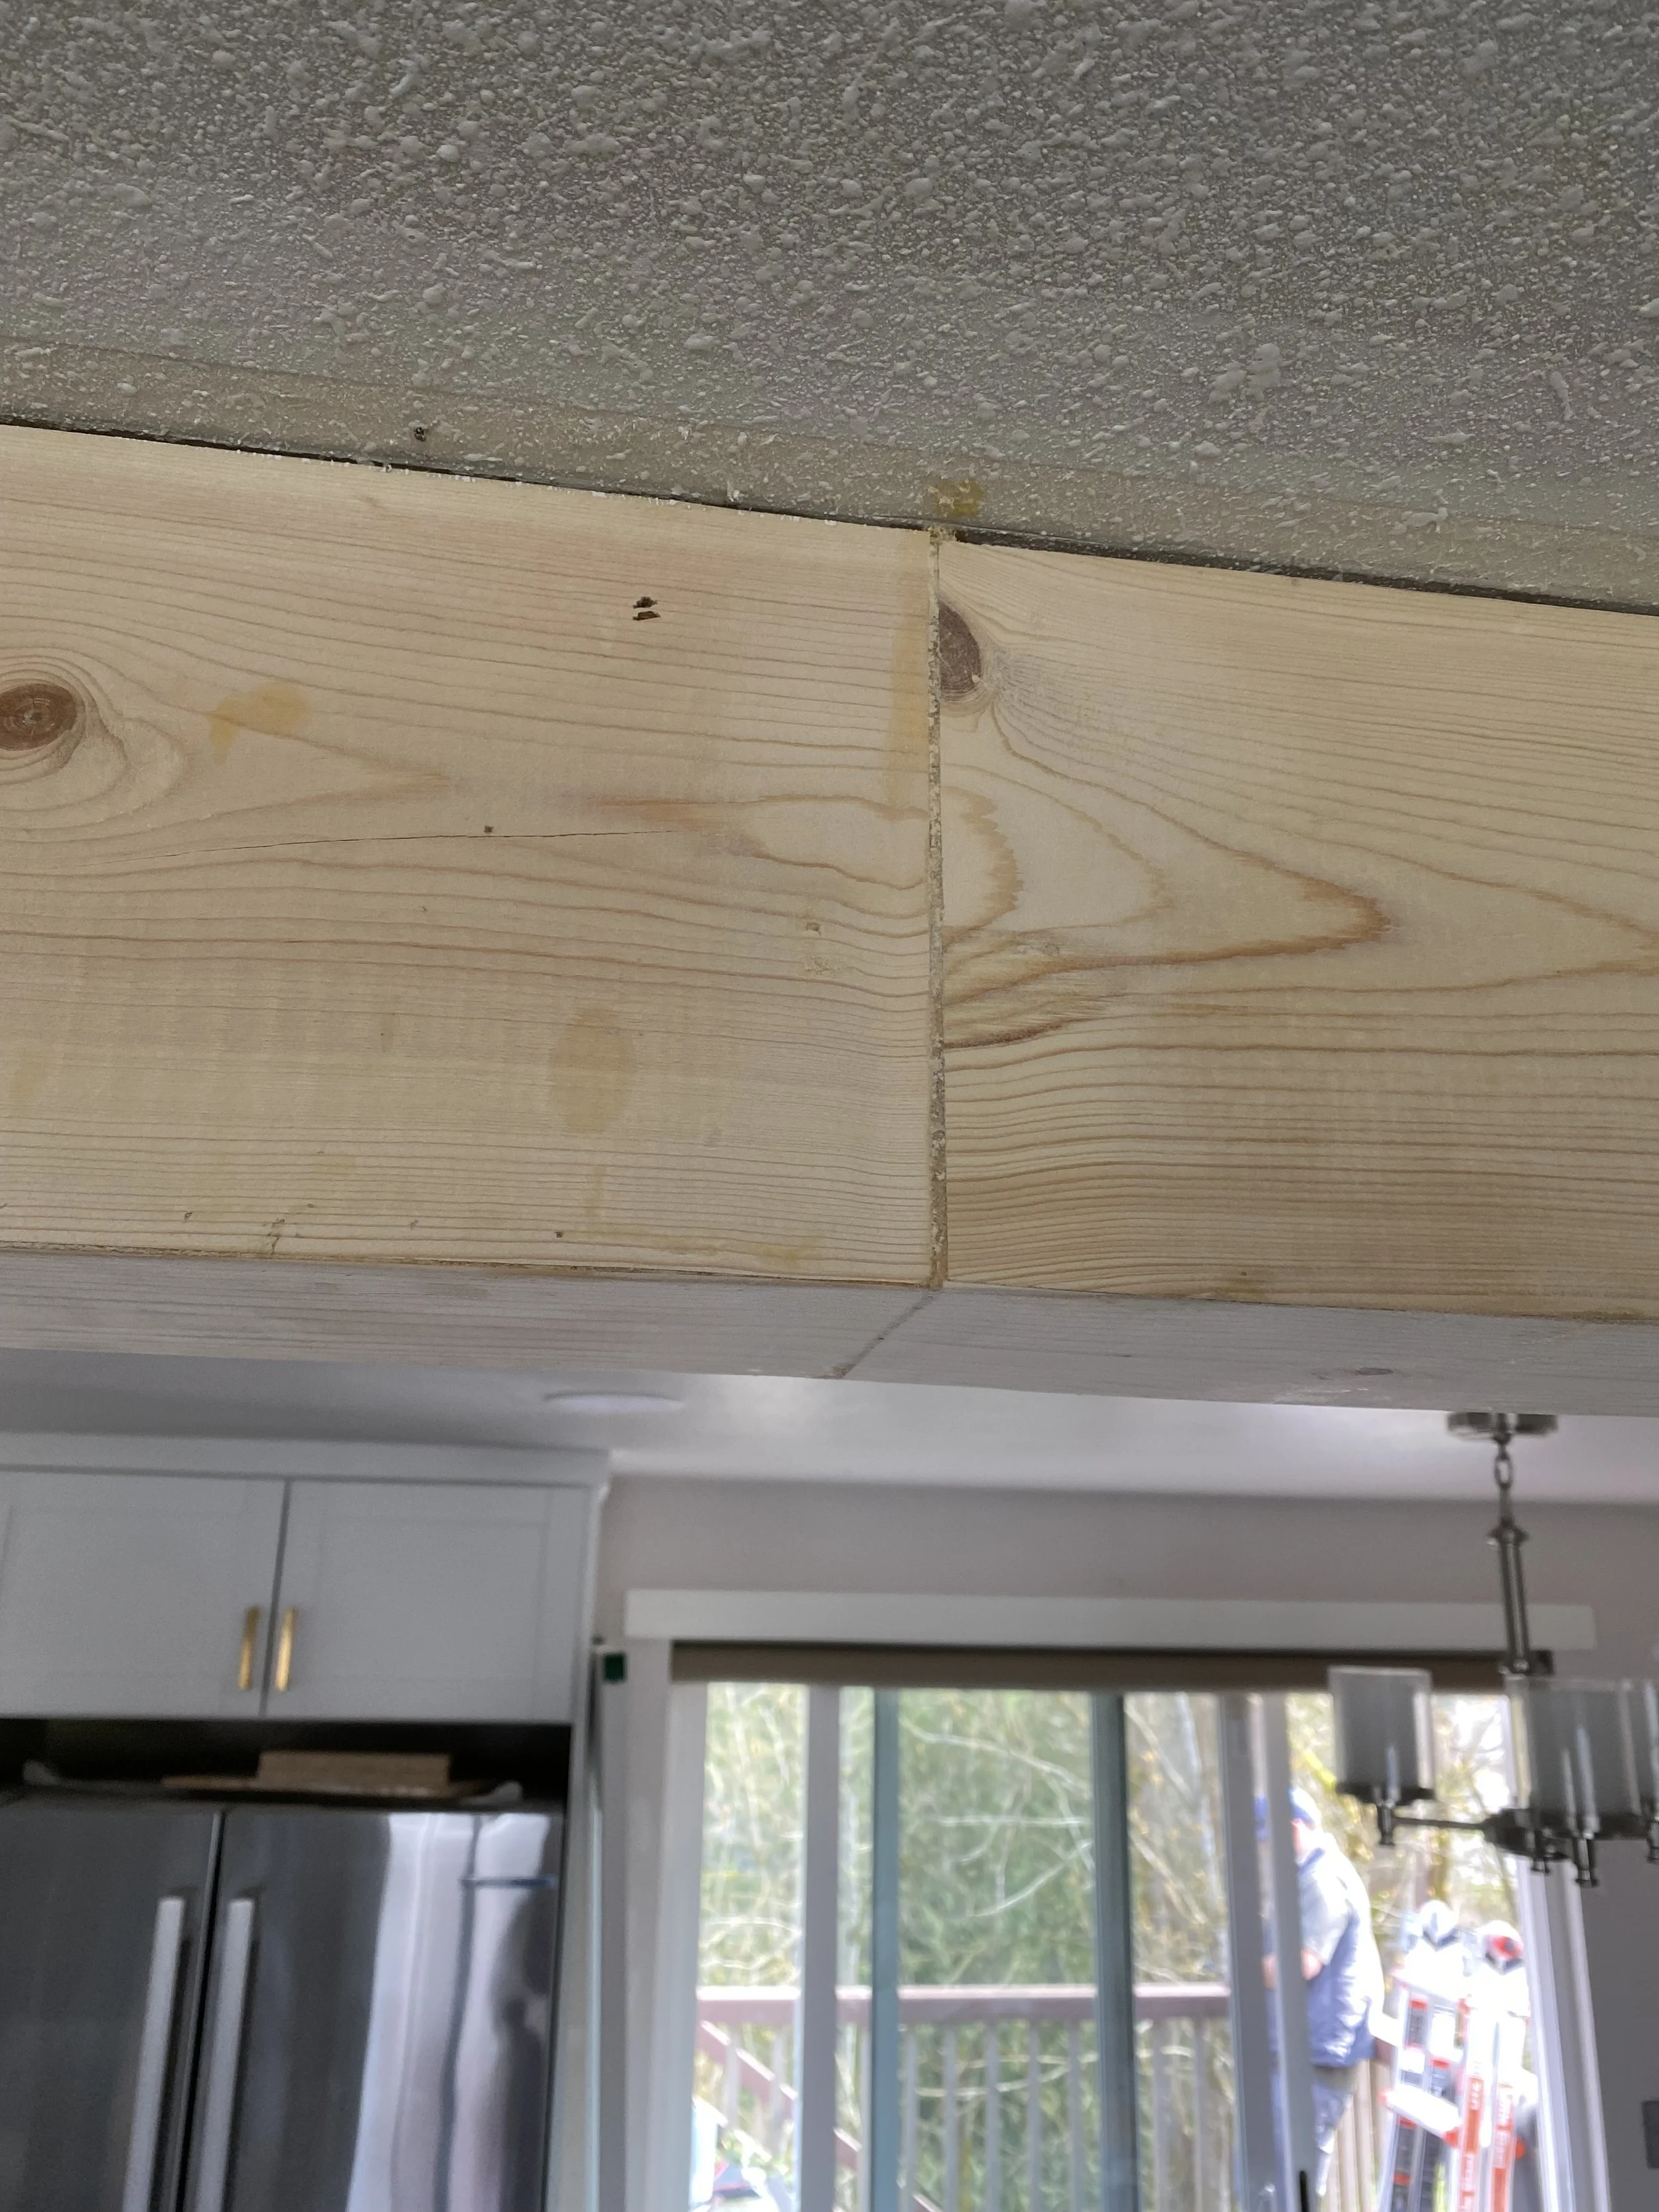
Step 5: Seal any Joints
If your beam spans a long enough width that you need to join two pieces together, you’ll have a joint in your beam that is susceptible to expansion. Here is how we secured the joint (and still sealed three years later!)


We put on a layer of blue tape on the edges to protect our beams, then glued two scrap wood pieces over the tape using a strong glue (one per side on the joining edge). This was secured to the beam using screws in the middle of the scrap pieces.
The joint was then filled with our homemade wood glue/filler mix, then we used a larger clamp on the scrap pieces to pull the two sides together as tight as possible. We left this to cure overnight, sanded it down, and repeated the process if we noticed any bubbles/holes in the filler after it dried.

You can see our chunky homemade wood filler on the bottom left to sit overnight, then we sanded down
You can just barely see where the screws entered into our beam - we also filled those holes with our filler and it blended perfectly into the wood pattern.
Step 5: Sand for a Natural Look
Lightly sand all edges, especially the corners. Sanding slightly rounds the edges and removes that "fresh off the saw" look, giving it the worn, authentic feel of a real structural beam.
If you want a more rustic look, you can vary how much you sand along the corner edges.
At this point it’s a lot of repeating the same steps: fill, dry, sand, repeat! As many times as needed to get the look you want.
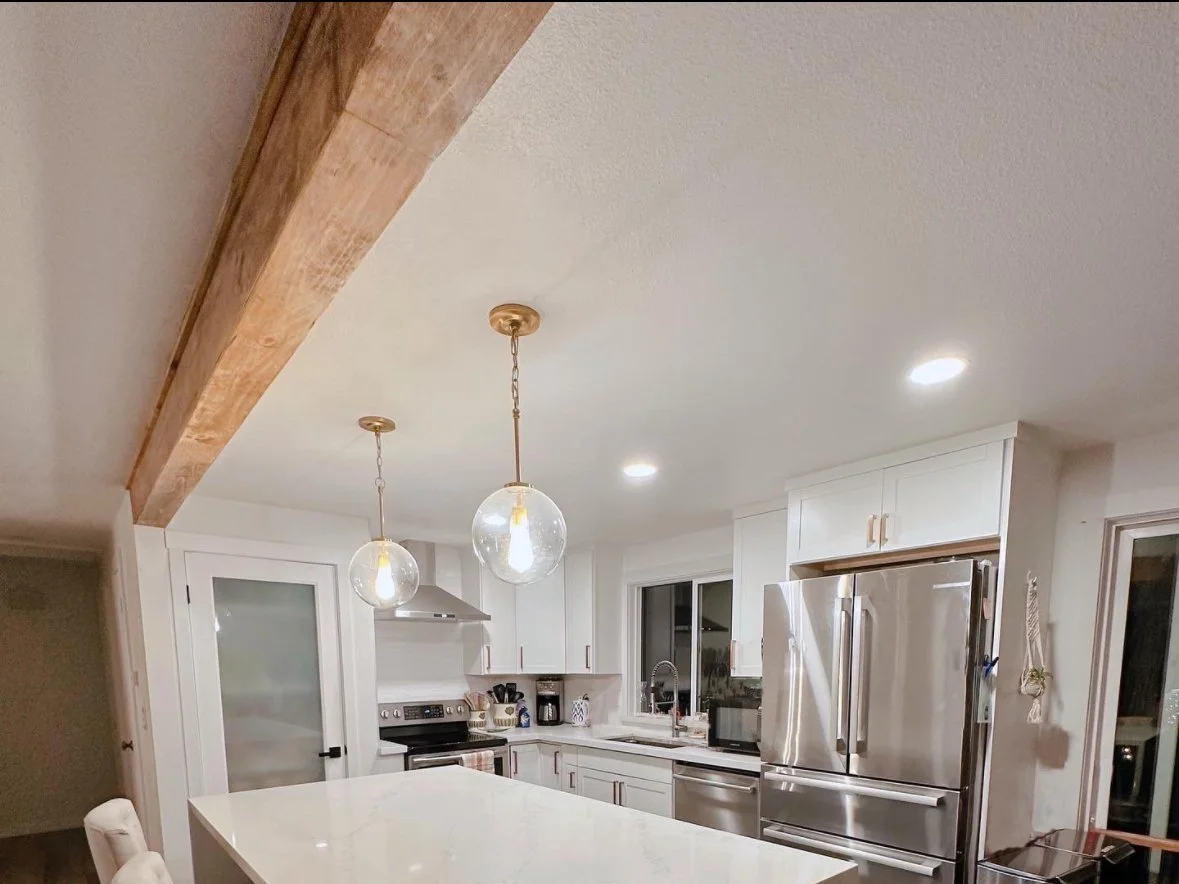
Optional Finishes
You can leave the beam natural, or apply a stain or whitewash depending on the style of your space. For that modern farmhouse feel, a light gray, weathered oak, or walnut stain pairs beautifully with white cabinetry and brass fixtures.
If there is a large gap between your beam and the ceiling (no ceiling is perfectly flush), you can add another detail piece like we did to cover the gap:


And that’s (literally) a wrap! This project is super versatile and you’ll find that the same techniques can be applied to other areas of your home:
Beefing up porch posts or giving them a natural look
Fireplace mantles
Floating shelves
We’d love to see where this project takes you! Let us know below!
Interested in this full kitchen remodel story? Stay tuned! Let’s just note that lifting a slab of quartz up a split level home is not for the weak…